Tips for Migrating Your Website to a New Hosting Provider with Hostginger
Migrating your website to a new hosting provider can be a daunting task, but with the right preparation and steps, it can be a smooth and successful process. In this article, we'll explore detailed tips on how to migrate your website to a new hosting provider, specifically focusing on using Hostginger. Whether you're seeking better performance, more features, or just a change, this guide will help you make the transition seamlessly.
Introduction
Importance of Website Migration
Migrating your website is an essential step when your current hosting provider no longer meets your needs. It could be due to frequent downtimes, slow loading speeds, or lack of customer support. Ensuring your website runs smoothly and efficiently is crucial for maintaining your online presence and customer satisfaction.
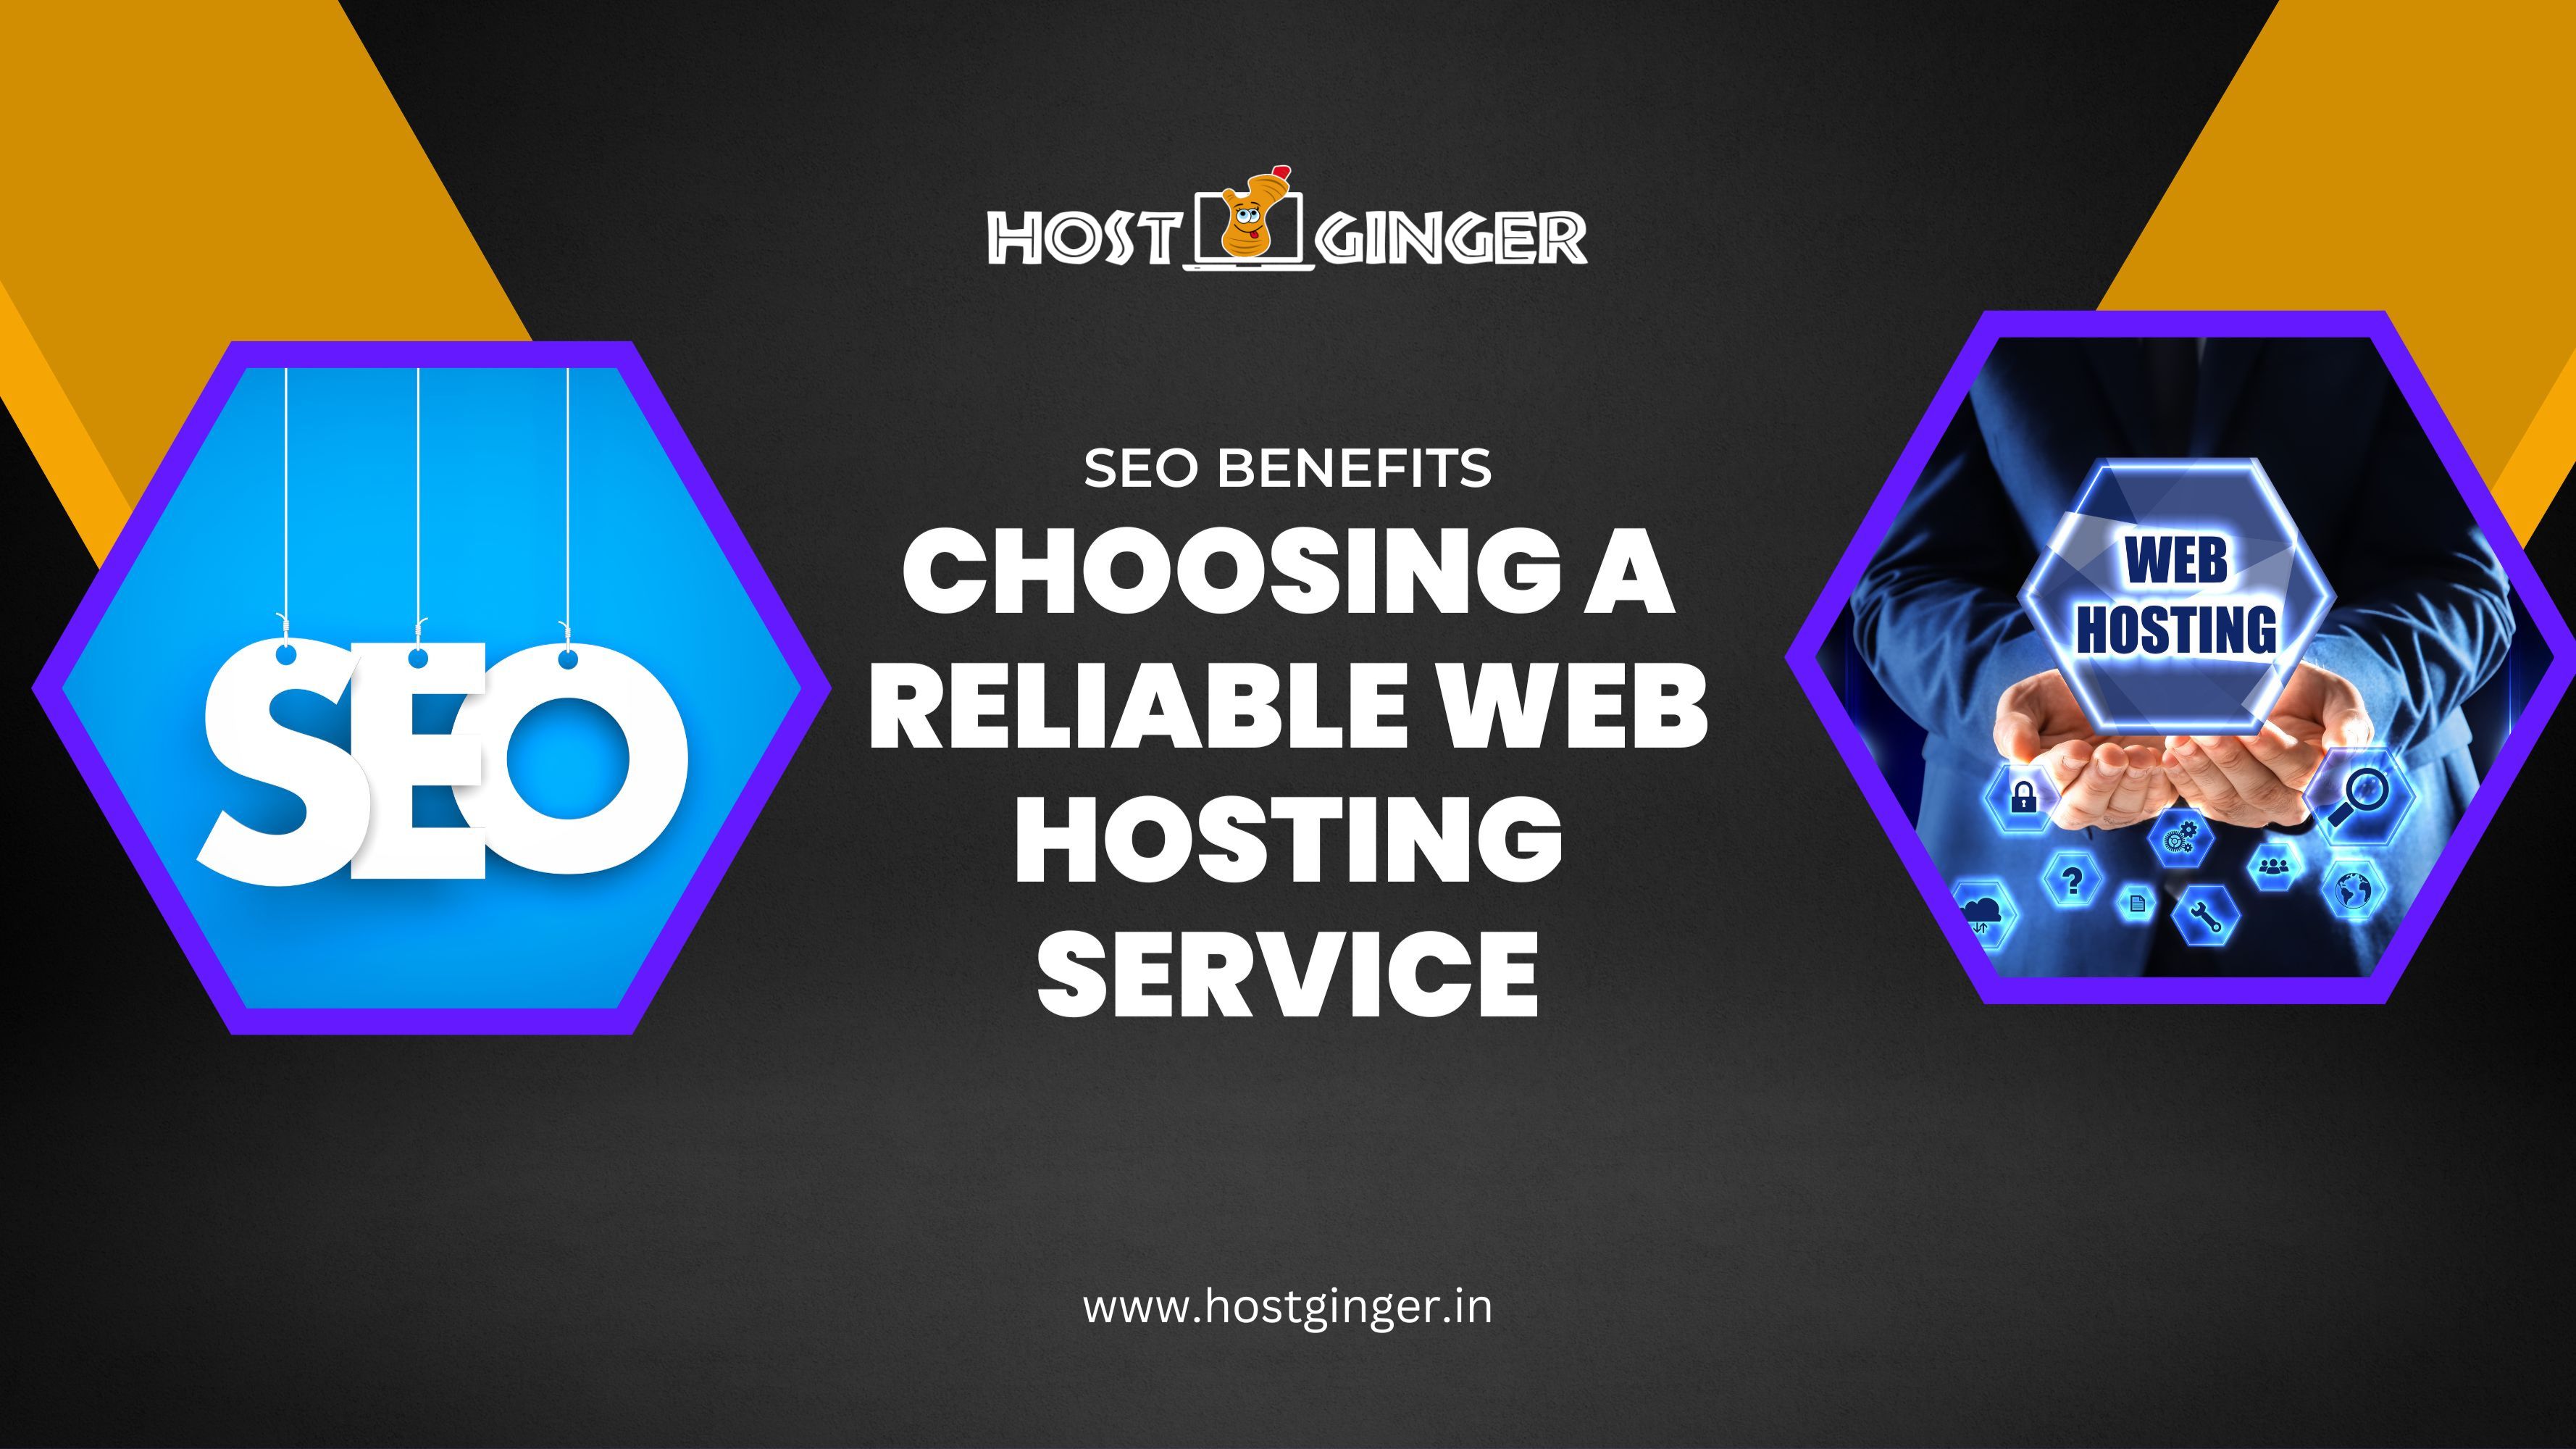
Why Choose Hostginger?
Hostginger is known for its reliable and affordable hosting solutions. With excellent customer support, robust security features, and high-speed performance, Hostginger makes it an ideal choice for those looking to migrate their websites. Their user-friendly interface and comprehensive guides make the migration process easier, even for beginners.
Preparing for Migration
Assessing Your Current Hosting Plan
Before you start the migration process, it's important to evaluate your current hosting plan. Identify the limitations and issues you're facing, such as bandwidth restrictions, storage limits, or slow server response times. This assessment will help you understand what you need from your new hosting provider and ensure that Hostginger meets those requirements.
Backing Up Your Website
Backing up your website is a critical step before migration. It ensures that you have a copy of all your files, databases, and content in case something goes wrong during the process. You can back up your website manually or use backup plugins and tools provided by your current host.
Choosing the Right Hostginger Plan
Understanding Hostginger Plans
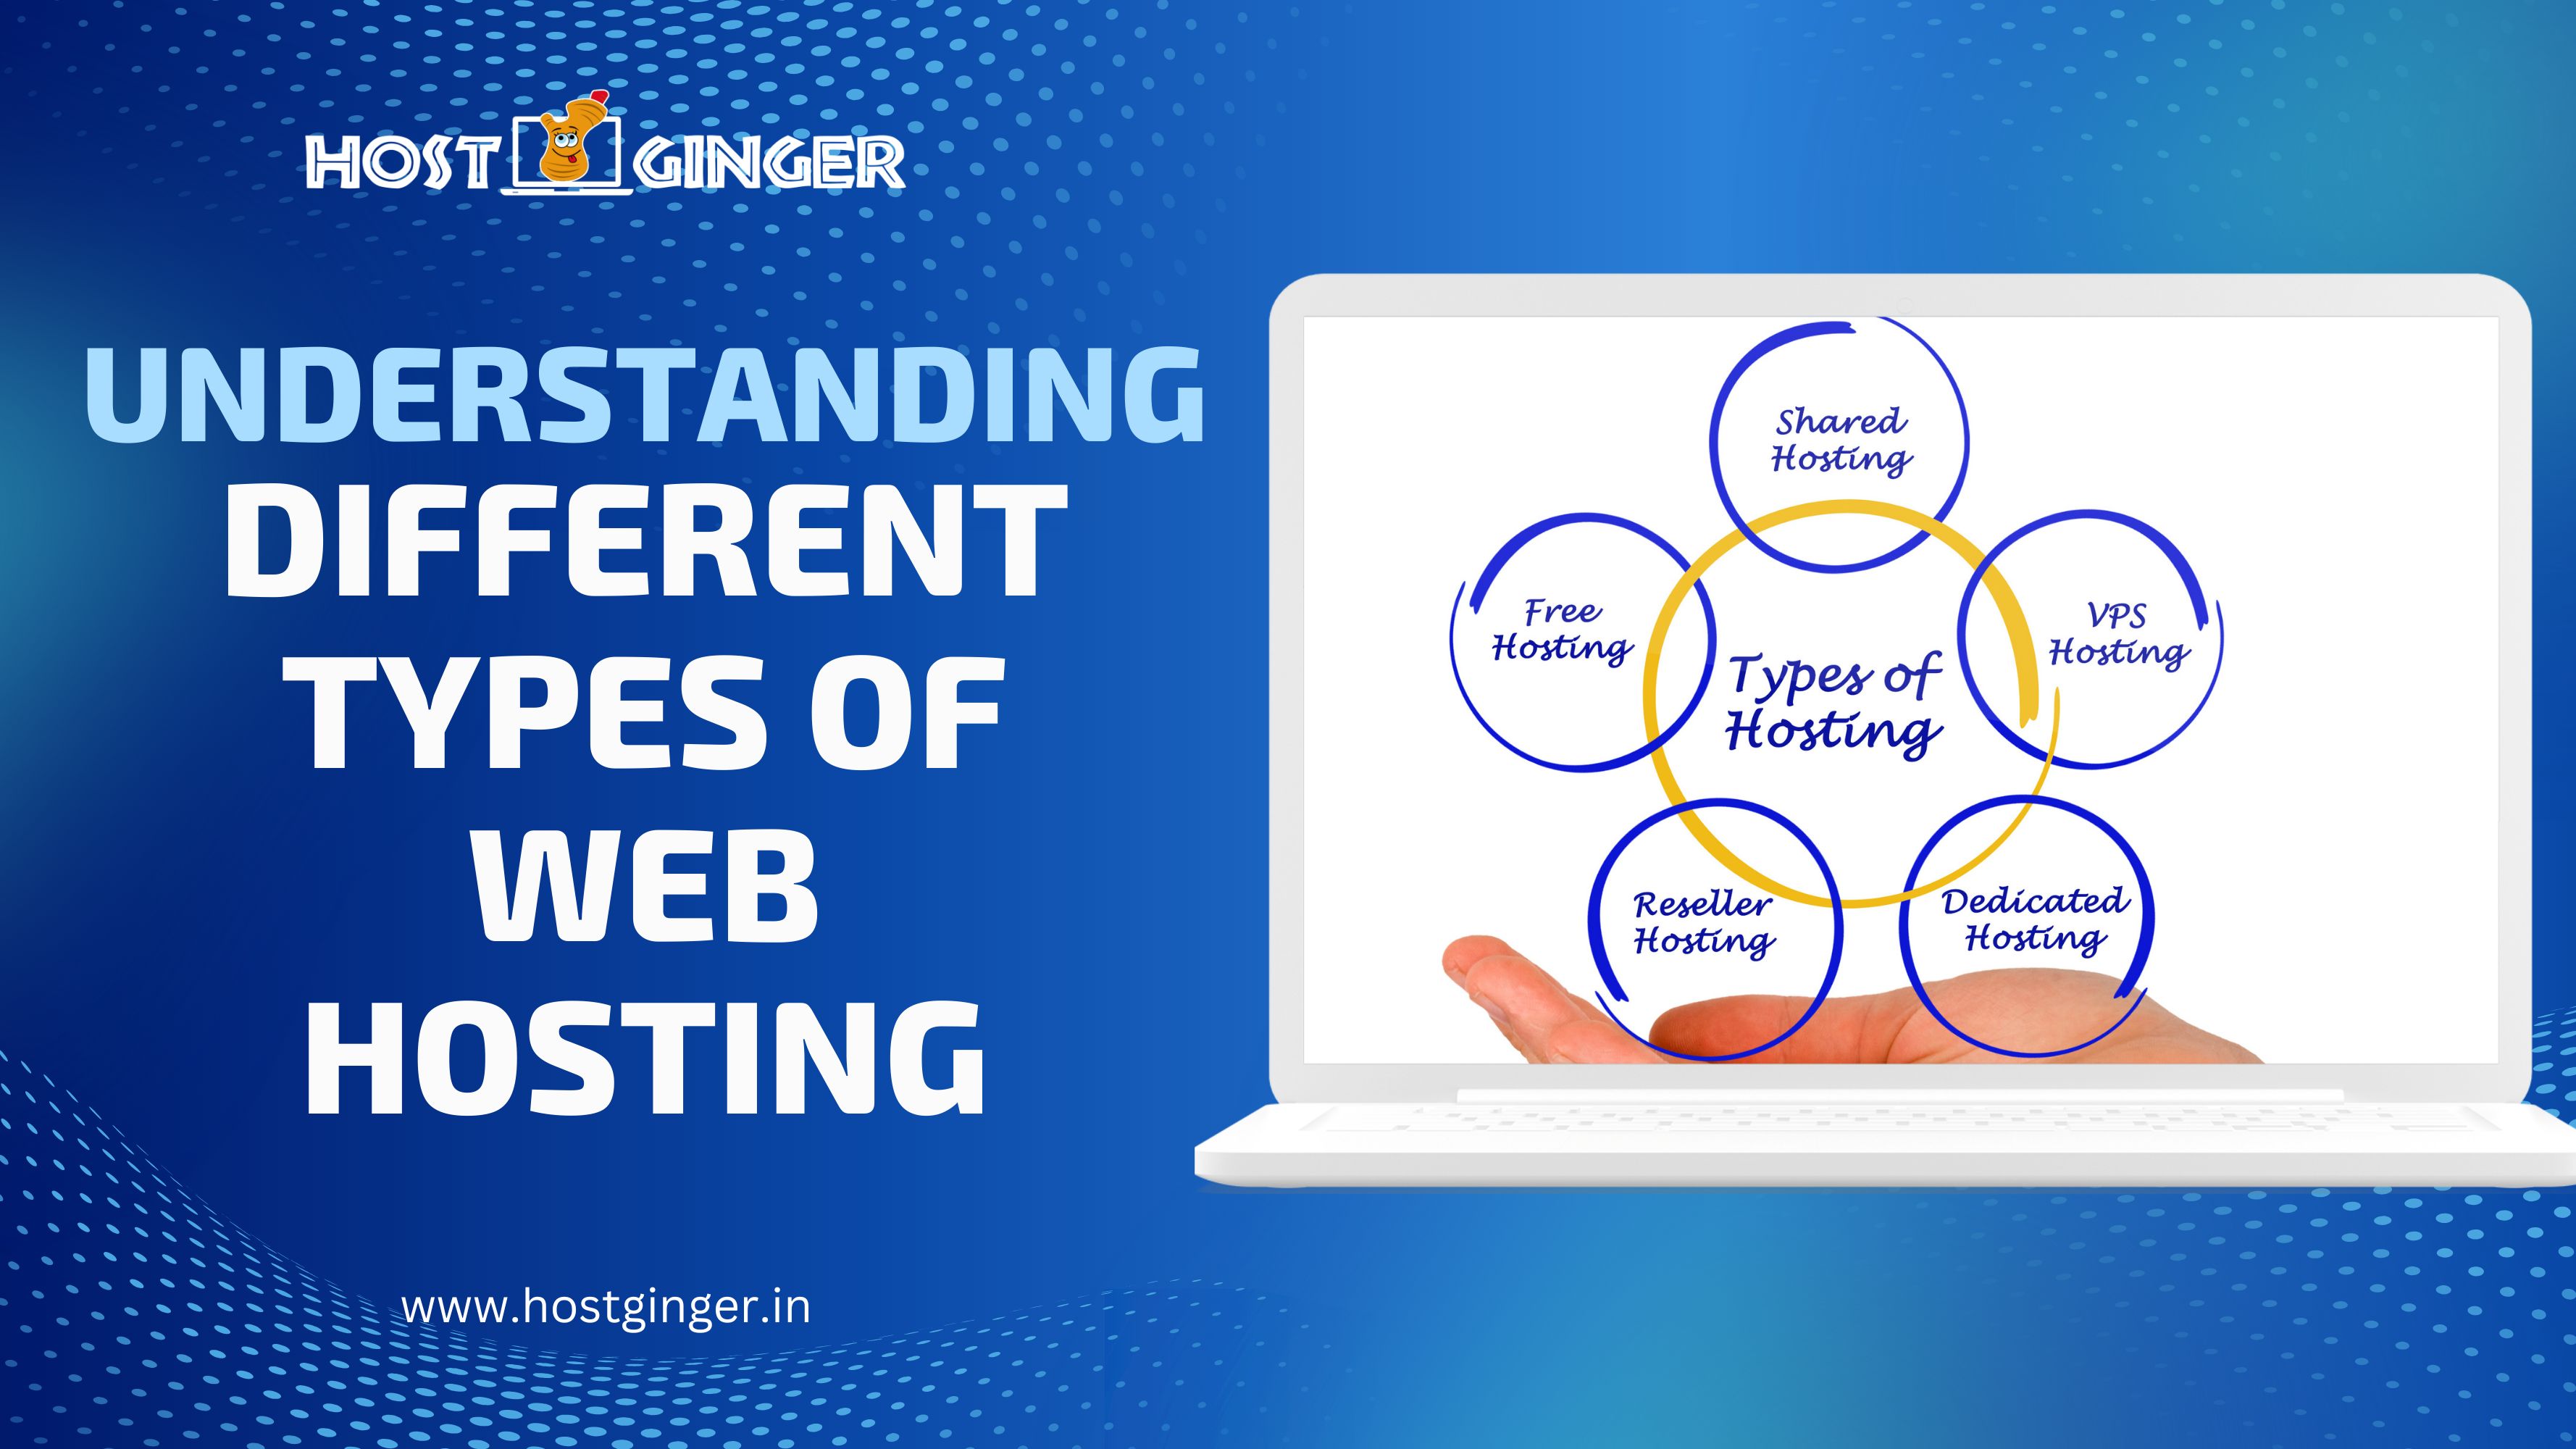
Hostginger offers various hosting plans tailored to different needs, including shared hosting, VPS hosting, and dedicated servers. Review these options to determine which plan best suits your website's requirements in terms of performance, scalability, and budget.
Matching Features to Your Needs
Compare the features of each Hostginger plan to your current and future needs. Consider factors such as storage space, bandwidth, email accounts, and additional services like SSL certificates and security features. Selecting the right plan will ensure you have the resources necessary for smooth website operation.
Pre-Migration Checklist
Domain Registration and DNS Settings
Check the status of your domain registration and ensure it’s up to date. Update your DNS settings to point to Hostginger’s servers. This step is crucial for minimizing downtime and ensuring your visitors can access your website without interruption.
Checking Website Compatibility
Ensure that your website’s applications, themes, and plugins are compatible with Hostginger’s hosting environment. Incompatible software can cause functionality issues post-migration, so it’s best to verify compatibility beforehand.
Creating a Migration Plan
Setting a Migration Date
Choose a date and time for your migration when your website experiences the least traffic. This minimizes the impact on your visitors and reduces the risk of data loss or disruption.
Informing Stakeholders
Notify all relevant stakeholders about the migration plan, including your team, clients, and customers. Provide them with details about the expected downtime and any changes they might experience during the transition.
Backing Up Your Website
Methods of Backup
There are several methods to back up your website, including manual backups via FTP, using cPanel backup options, or employing backup plugins like UpdraftPlus or BackWPup. Choose the method that best fits your technical skills and the complexity of your website.
Tools and Plugins for Backup
Utilize backup tools and plugins to create a comprehensive copy of your website’s data. These tools often automate the process and provide options for scheduling regular backups, ensuring you always have an up-to-date copy of your site.
Transferring Files to Hostginger
Using FTP/SFTP
FTP (File Transfer Protocol) or SFTP (Secure File Transfer Protocol) are common methods for transferring files from your old host to Hostginger. Use an FTP client like FileZilla to upload your website files to Hostginger’s server.
Importing Databases
Export your website’s databases from your current host and import them into Hostginger using phpMyAdmin or a similar tool. Ensure that all tables and data are correctly transferred to avoid functionality issues.
Updating DNS Settings
Changing Nameservers
Update your domain’s nameservers to point to Hostginger. This step is essential for directing traffic to your new hosting provider. Hostginger typically provides
you with the nameserver information upon account setup. Access your domain registrar’s settings and replace the old nameservers with the new ones provided by Hostginger.
Propagation Time
DNS changes can take up to 48 hours to propagate fully. During this time, your website might be accessible from the old host for some users and from the new host for others. Be patient and monitor the transition to ensure it completes smoothly.
Testing Your Website on Hostginger
Checking Functionality
After the migration, thoroughly test your website on Hostginger to ensure everything works as expected. Check all pages, forms, and interactive elements. This step helps identify and fix any issues that might have occurred during the migration.
Verifying Content
Ensure that all your website content, including text, images, and videos, is correctly displayed. Verify that all internal links and navigation menus work properly to provide a seamless user experience.
Troubleshooting Common Issues
Handling Downtime
Even with careful planning, unexpected downtime can occur. If your website experiences downtime, contact Hostginger’s support team immediately for assistance. They can help identify and resolve the issue promptly.
Fixing Broken Links
Broken links are a common issue post-migration. Use tools like Screaming Frog or Google Search Console to identify and fix broken links. This ensures that your visitors can navigate your site without encountering dead ends.
Optimizing Your Website on Hostginger
Speed Optimization
Enhance your website’s speed by leveraging Hostginger’s performance optimization features. Use caching plugins, optimize images, and enable compression to improve load times. Faster websites provide a better user experience and boost SEO rankings.
Security Enhancements
Take advantage of Hostginger’s security features to protect your website from threats. Implement SSL certificates, use strong passwords, and enable two-factor authentication. Regularly update your software and plugins to patch vulnerabilities.
Monitoring Your Website Post-Migration
Performance Monitoring
Continuously monitor your website’s performance using tools like Google Analytics and Hostginger’s built-in monitoring tools. Track metrics such as page load times, bounce rates, and user engagement to ensure optimal performance.
Regular Backups
Set up regular backups to safeguard your data. Hostginger offers automated backup solutions that you can schedule daily, weekly, or monthly. Regular backups provide a safety net in case of data loss or other issues.
Best Practices for SEO during Migration
Maintaining SEO Rankings
To maintain your SEO rankings during migration, create a comprehensive 301 redirect plan. Redirect old URLs to their new counterparts on Hostginger to preserve link equity and avoid 404 errors.
Setting Up 301 Redirects
301 redirects inform search engines that a page has permanently moved. This helps transfer SEO value from the old URL to the new one. Use Hostginger’s control panel or an SEO plugin to set up these redirects effectively.
Conclusion
Migrating your website to a new hosting provider like Hostginger can seem overwhelming, but with careful planning and execution, it can be a smooth process. By following these tips, you can ensure a successful migration with minimal downtime and disruption. Hostginger’s robust features and support make it an excellent choice for hosting your website, providing you with the tools needed for optimal performance and security.
FAQs
Q.1 What is the Average Time for Website Migration?
The average time for website migration can vary depending on the size and complexity of the site. Generally, it can take anywhere from a few hours to a couple of days. Proper planning and preparation can help speed up the process.
Q.2 Can I Migrate My Website Without Downtime?
Yes, it’s possible to migrate your website without downtime by carefully planning the migration process and using techniques like DNS pre-propagation and temporary staging sites. Hostginger’s support team can assist with strategies to minimize downtime.
Q.3 How Do I Handle Email Accounts During Migration?
During the migration, you’ll need to transfer your email accounts to Hostginger. This involves setting up email accounts on the new host and updating MX records to point to Hostginger’s mail servers. Back up your emails beforehand to prevent data loss.
Q.4 What if I Face Issues After Migration?
If you encounter issues after migration, contact Hostginger’s customer support for assistance. They offer 24/7 support and can help resolve any problems you might face during or after the migration process.
Q.5 Is Hostginger Suitable for E-commerce Websites?
Yes, Hostginger is suitable for e-commerce websites. They offer specialized hosting plans that include features like SSL certificates, daily backups, and enhanced security measures to support secure and reliable online stores.