Rescue mode can be used for data recovery, OS repair, and other purposes. On your VPS, you can enable rescue mode. Please follow the procedures below.
1. Log in to your Virtualizor Control Panel.
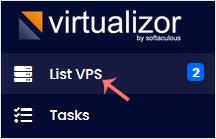
2. From the left side panel, click on List VPS.
3. Hover your mouse on the appropriate VPS, and that line will be highlighted. Then click on the Manage icon in the highlighted line.

4. Click on Rescue Mode.

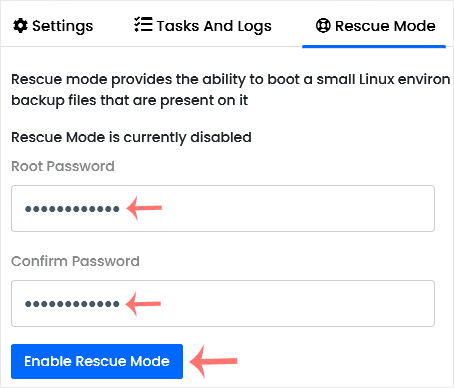
5. Enter the password and choose Enable Rescue Mode.
It can take a few minutes for it to take effect. After that, you can access your VPS via SSH with your new password. In case SSH is not accessible, you can access it from VNC.
To disable rescue mode, you can go back to the rescue mode tab and click on Disable Rescue Mode.
If Virtualizor shows that no actions are allowed, you can click on the Reload this page icon to refresh your page. All actions will become visible after disabling rescue mode.
