You can create or remove a directory on your website using the FileZilla FTP Client.
1. Open the FileZilla FTP Client.
2. Enter your FTP host, username, and password. You can use your cPanel username and password as your FTP user and password. Then click on Quick Connect.
- Enter your domain name in the Host field, such as ftp.example.com or example.com.

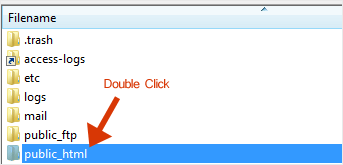
3. Now, should you wish to create a directory inside the public_html folder, open it by clicking twice on the public_html directory or any other directory where you want to create a new folder.
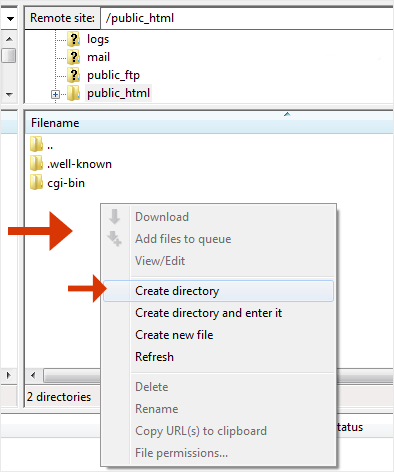
4. Right-click on the empty space within the filename box and click on Create Directory in the context menu.
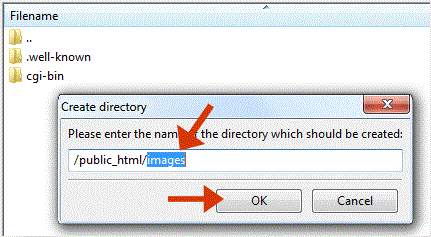
5. Enter the directory name, such as images or any other directory name you want to create.
6. Your newly-created directory will appear. Double-click on it to enter your newly-created directory.
How to Delete or Remove a directory?
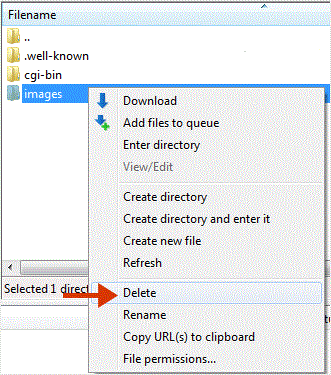
1. Right-click on any directory you wish to delete.
2. Choose the Delete option in the context menu and then confirm with Yes.
You can use this method to remove any directory or file.


