

To generate a Certificate Signing Request for your site, follow these steps:
- Log in to Plesk.
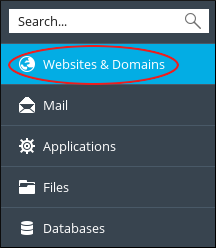
- In the left sidebar, click Websites & Domains:
- Click SSL/TLS Certificates:

-
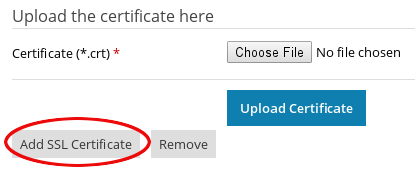
Click :
-
On the Add SSL/TLS Certificate page, complete the fields in the request form, and then click .
-
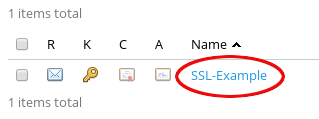
The SSL Certificates page for the domain appears. Click the certificate name:
-
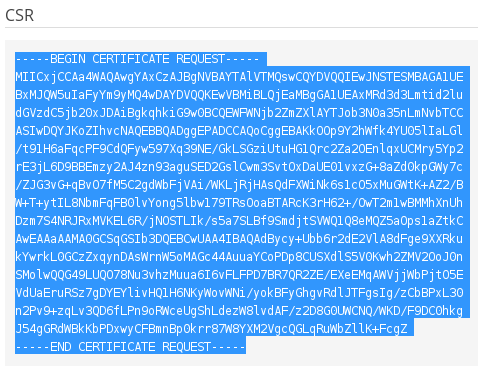
Scroll down to the CSR section, and then copy all of the text, including the BEGIN CERTIFICATE REQUEST and END CERTIFICATE REQUEST headers:
Installing the SSL certificate in Plesk
You are prepared to deploy your SSL certificate in Plesk once you have ordered and received it. Follow these steps to accomplish this:
- Log in to Plesk.
- In the left sidebar, click Websites & Domains:
- Click SSL Certificates:
-
The SSL Certificates page for the domain appears. Click the certificate name:
-
Scroll down to the Upload the certificate as text section, and then in the Certificate (*.crt) text box, paste all of the certificate text, including the BEGIN CERTIFICATE and END CERTIFICATE headers:
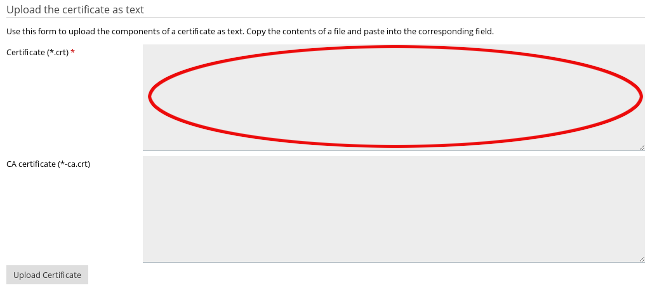 If Plesk does not fill in the CA certificate (*-ca.crt) text box automatically, you must copy the Intermediate Bundle.
 - Click . Plesk installs the certificate.
Configuring the domain to use SSL
After you install the SSL certificate, you must enable SSL support for the domain in Plesk. To do this, follow these steps:
- Log in to Plesk.
- In the left sidebar, click Websites & Domains:
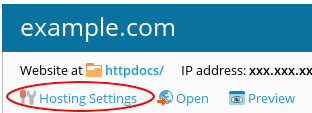
- Click Hosting Settings:
-
Under Security, select the SSL support check box:
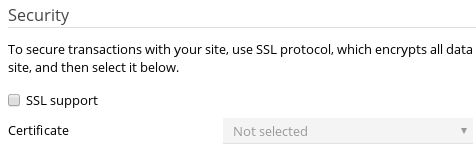
- In the Certificate list box, select the SSL certificate you installed in the previous procedure.
- Click .
